
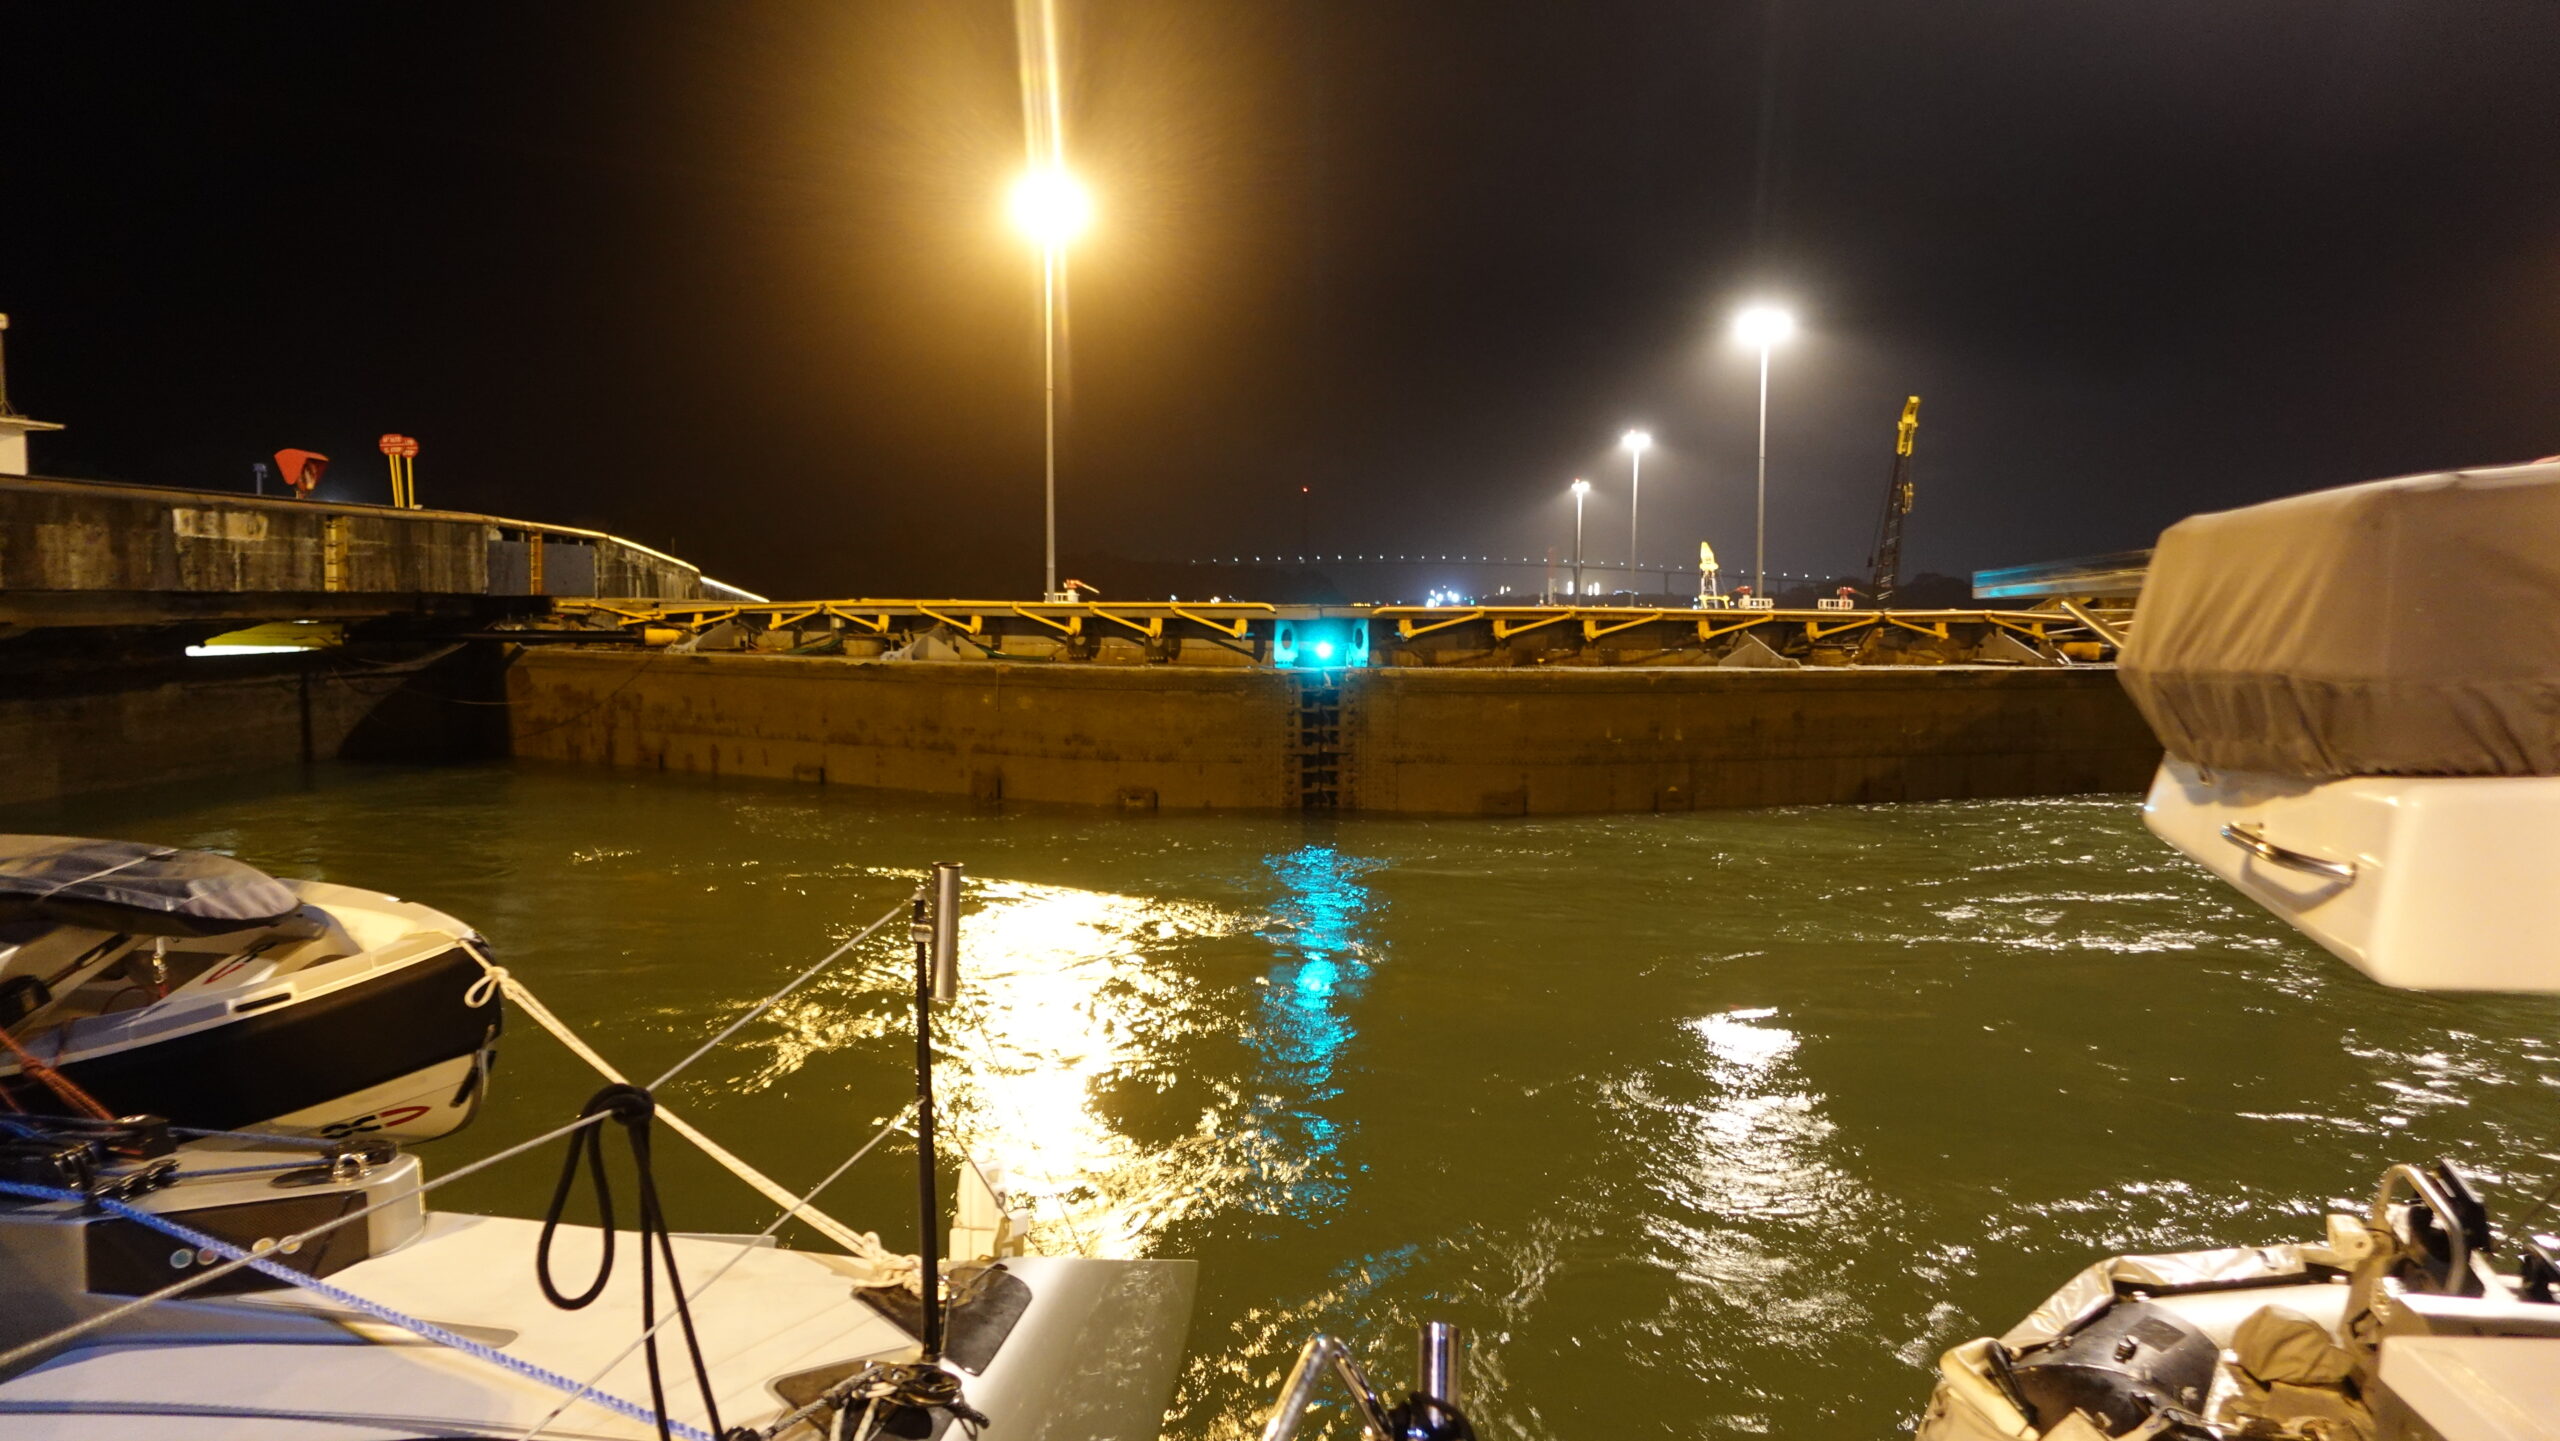
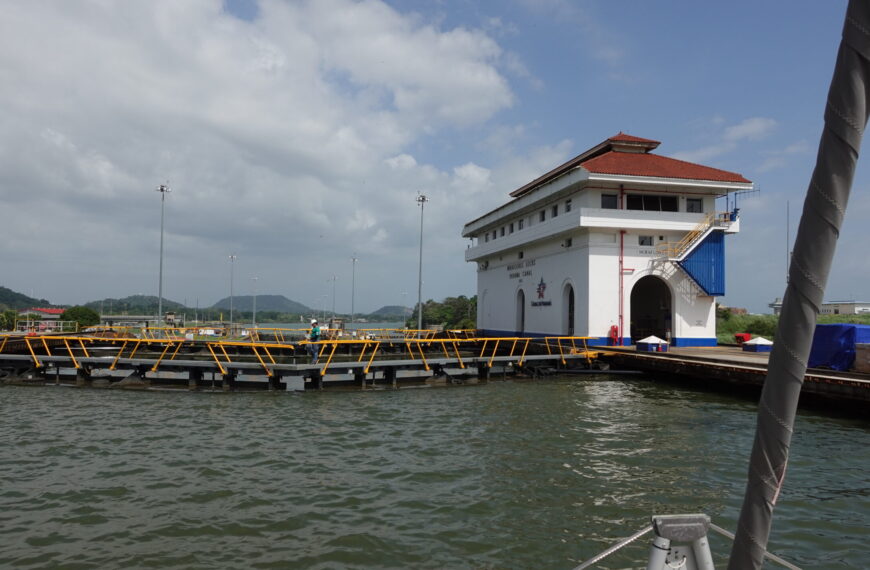
After years in the Caribbean Sea it was time for us to chart a course through one of Earth’s greatest engineering feats; the Panama Canal. The experience of driving our own boat through the canal was unique, unlike anything we’d ever done before. But, as you might expect, there were a number of logistical challenges to overcome before the big day.
While many sailors choose to hire a local agent to manage the paperwork, we did everything ourselves. This guide shares all the steps I took to organize our sailboat’s Panama Canal transit, without an agent. I also shared our experience of the transit in another post.
Why transit the Panama Canal without an agent?#
Deciding whether or not to use an agent comes down to the preference of the crew.
Some boats choose to use one because they’re concerned about making a mistake on the paperwork, or want the safety net of having an experienced person on their side if they need to change their transit date.
Aboard SV Liger we tend to only use agents when there’s no other choice. Generally I don’t see a point in paying someone to do what I could do myself, and actually prefer to be able to speak to authorities directly, rather than having a third person in the middle. Going into the canal transit I was concerned that the process might be difficult, but in recent years the Panama Canal authority has made it much easier for yachts to organize their own handline transit.
Step 1: Register on the ASEM portal#
The first step in organizing your Panama Canal transit is to create a profile and register your boat on the Panama Canal Authority’s online portal. To do this, you need to access the official Small Craft Service Management system at https://asem.pancanal.com/.
The good news is you can set up your account and add your vessel details well before you actually arrive in Panama. This allows you to review the required documentation and get a head start on the application. The full process is outlined in the most recent publication of the Procedures for Securing a Handline Transit of the Panama Canal document.
Adding your boat to the system#
Once you’ve created a profile on the ASEM website, you can add your boat. When creating a new boat in the system, you have to provide lots of information about the vessel:
- Photo of a complete side profile of the boat
- Call sign
- Builder and construction information
- Registration and ownership details
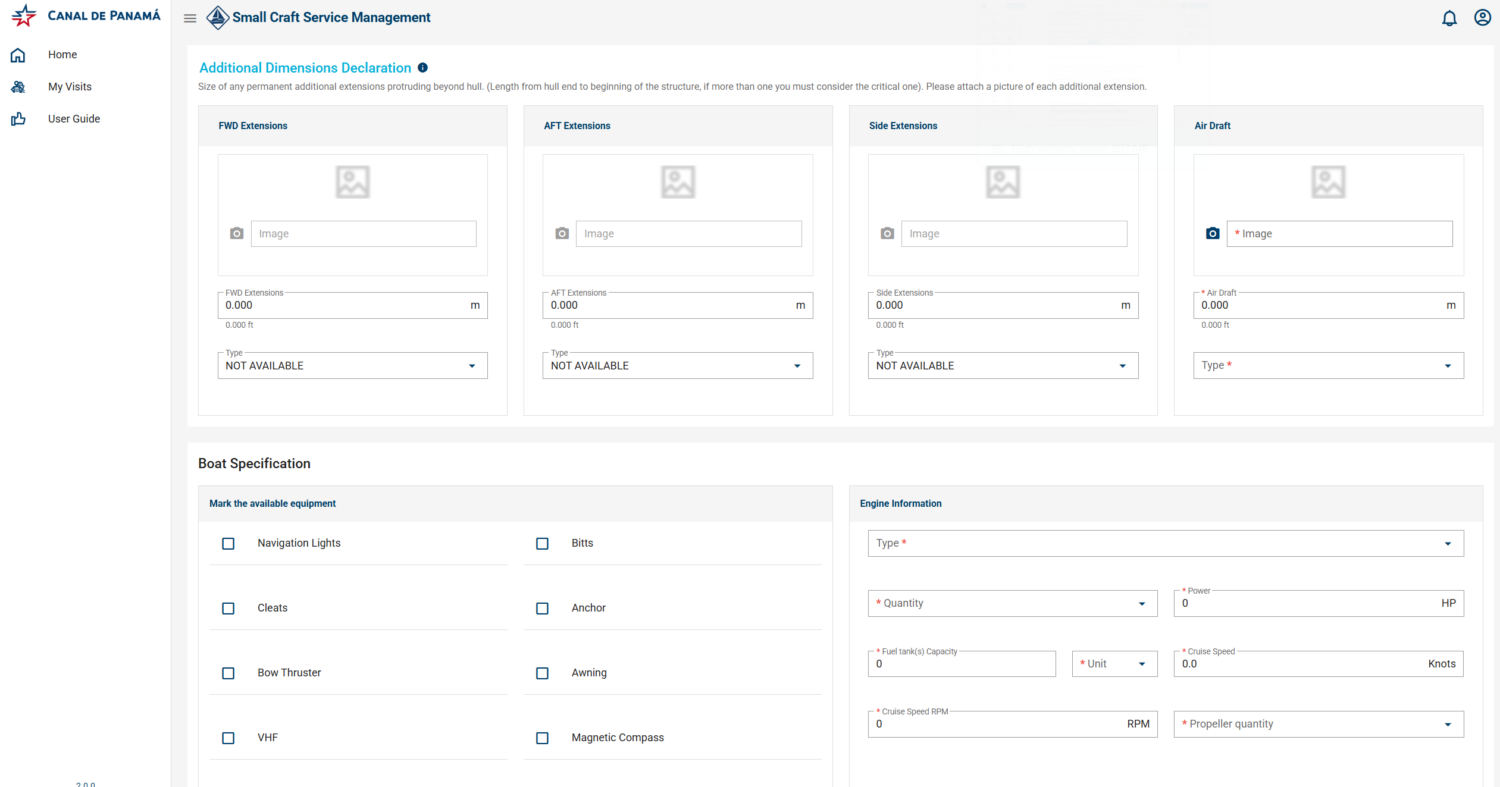
- Additional Dimensions Declaration
- Equipment specifications
- Engine information, including cruising speed
The Additional Dimensions Declaration is where you provide the size of additions that extend beyond the hull, on the aft, forward, air and sides. For us, that was our bow sprit at the front, mast, and solar frame at the rear.
The engine information helps inform the timing for your transit. The minimum accepted speed for a vessel is 5 knots under motor propulsion, and vessels that can do 8 knots generally get a 1-day transit. You can not use sails, and there are additional requirements if your vessel is primarily powered by outboard engines.
Getting your boat measured (admeasurement)#
In the past, an official admeasurer was required to physically visit every vessel to measure its dimensions and check the safety equipment. However, the Panama Canal Authority has modernized the process, and a physical inspection may not be needed.
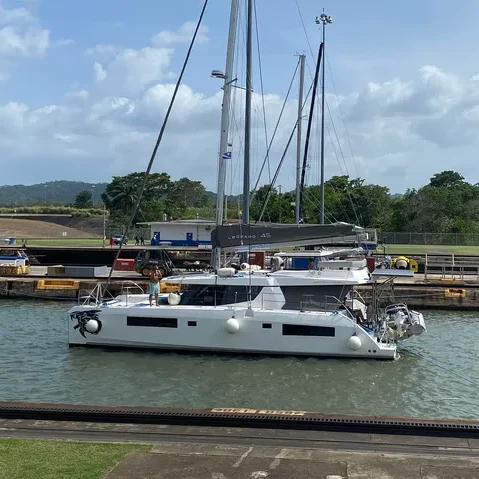
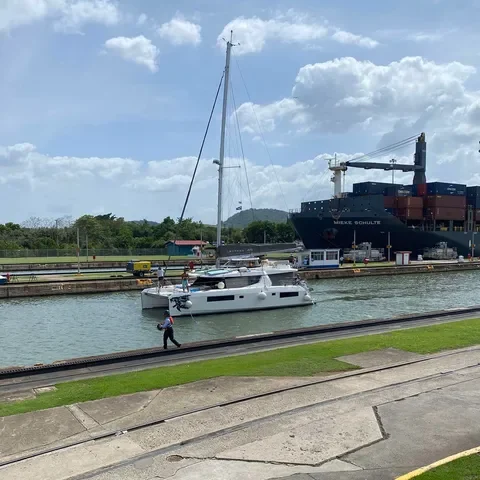
When we went through, our measurements were accepted online without an inspector ever setting foot on deck. I suspect this may be because the Leopard 45 is a well-known production boat, and is well within the 65 ft limit for our payment bracket.
Step 2: Create a visit#
After the yacht is registered with the Panama Canal authority, you can create a visit. The beginnings of this can be done outside of Panama, but you must be in the Panama Canal region before you can finalize the visit details.
During the visit creation process I had to:
- Input our intended movements, i.e ATLANTIC SEA to PACIFIC SEA
- Complete the General Declaration, which included quarantine questions, next & last port, persons on board and arrival conditions
- Complete the handline lockage request
The online form was very easy to fill out, and if there were points where something had to be processed before I could proceed, for example the admeasure data, I’d get an email notification when I could continue.
Lockage request#
During the lockage request section I was given 4 options for lockage types, and could answer yes or no. This is what we selected:
| Center chamber | YES |
| Lockage Alongside ACP Tug | NO |
| Sidewall | NO |
| Nested | YES |
This section also included a list of transit requirements that we had to confirm we could meet:
- 4 mooring ropes
- 4 line handlers + 1 captain
- Fenders
- Able to anchor
- Horn
- Drinking water
- Meal available
- Sanitary facilities
- Pilot ladder (Selected N/A)
- Working navigation lights
Step 3: Pay for the transit#
After the handline lockage request is submitted, it’s time to pay. You can pay in person at the Citibank branch in Colon, but nowadays it’s also possible to do it online. I found the wire transfer details in the Procedures for Securing a Handline Transit of the Panama Canal document, but did have an issue getting the ASEM system to process the bill so I could pay it. This turned out to be a known back-end glitch, and was quickly resolved after I emailed their financial department: fa-caja@pancanal.com.
These were the costs for our 45 ft catamaran to transit the Panama Canal in May 2026, charged in US dollars:
| Tolls (minimum – ballast) panama canal, length overall under 19.81 meters (65 ft) | $2130.00 |
| Security charge for transiting vessels with less than 3,000 pc/ums tons or with less than 5,392 maximum displacement tons | $165.00 |
| Vessel inspection service – small vessels that pay tolls based upon their length overall | $120.00 |
| Scheduling fee – small vessels as defined in toll rates | $500.00 |
| Buffer (retention fee) | $1060.00 |
| TOTAL DUE | $3975.00 |
The buffer was a deposit, and this was refunded to us two months after we successfully transited the canal.
Step 4: Booking a date#
Once the payment was confirmed, we could book our transit date. This was done over the phone by calling the Panama Canal scheduler on the number provided.
When I called, I was very pleased to discover the scheduler spoke perfect English, because my Spanish sucks. We ended up being allocated a date 7 days away, much faster than we’d anticipated. At this time we only had a date, not a time, and had to call the day before we were meant to go through to confirm the timing.
Step 5: Sourcing your lines and fenders#
With a date booked, it was time to do the final preparation. To transit the Panama Canal in a sailboat there’s a bare minimum standard for the lines and fenders:
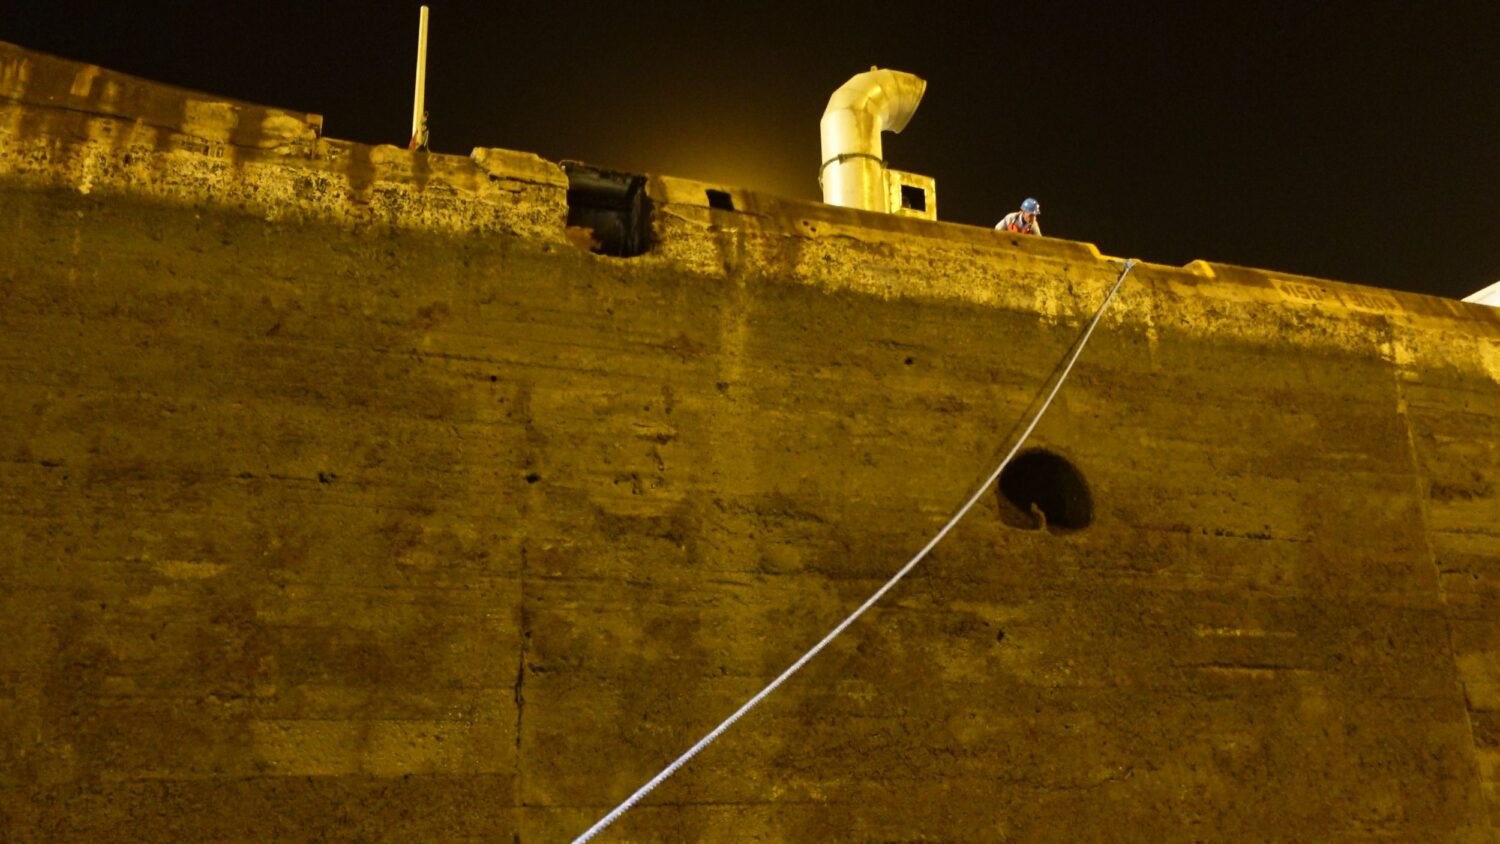
- 4x mooring ropes that are 7/8″ to 1.5″ thick, a minimum of 125 ft (38.1 m) long, and have a loop tied at one end about 3 ft in diameter
- 4x large fenders
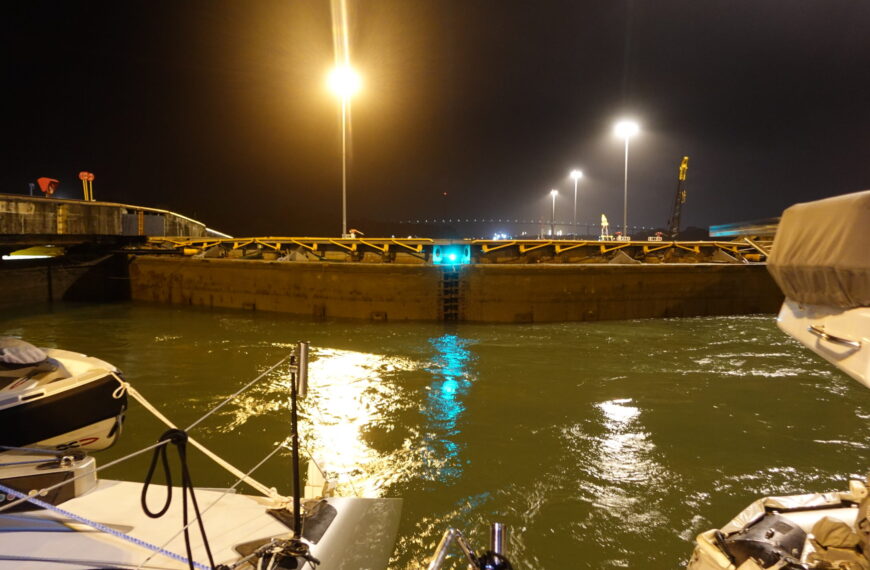
You can rent fenders and lines from local yacht clubs or suppliers in Colon or Panama City. We organized ours through our line-handlers. During the actual transit, we had six large fenders up the sides, and used additional lines to help secure Liger when we nested to a larger catamaran on the first day.
Step 6: Securing your line handlers#
The Panama Canal Authority requires you to have a minimum of four competent line handlers over the age of 16 on board, in addition to the captain. These crew members must be capable of managing the lines against heavy currents.
Like most boats we didn’t have enough crew aboard to meet the requirements, leaving three options:
- Friends or family fly in to assist
- Get volunteer line handlers, often other cruisers who want the experience
- Hire professional line-handlers
We decided to hire professionals, and it was the best decision we made! After reading reviews we settled on Tito, an experienced line-handler who’s done hundreds of transits and was known to every pilot and advisor we encountered. He bought an assistant to make up the fourth person, and took charge of everything to do with the lines and fenders. The cost was $100 per line-handler, and $100 for the lines and fenders, for a total of $300 for our 2-day transit.
Step 7: Provisioning for the transit#
When provisioning for the trip, there’s a couple of things to be aware of:
- There must be a complete hot meal with protein available for breakfast, lunch and dinner for the advisor
- You must provide at least 3 liters per day of individually sealed bottles of water for the advisor
This is the menu I had for our 2-day transit, feeding our 3 crew, the 2 line-handlers, and the advisor.
Day 1
- Lunch: Chicken burgers
- Dinner: Spaghetti Bolognese
Day 2
- Breakfast: Bacon and egg burgers
- Lunch: Beef Tikka Marsala curry and Beef stew (one of our crew can’t handle spicy!)
On the first day, I fed the advisor dinner while we were coming out of the last lock, motoring towards the Gatun Lake mooring balls. He was very appreciative of this, saying he often misses the dinner meal because crews eat once they’re secured to the mooring balls, which is when he gets picked up.
Step 8: Confirm the date#
The day before the transit I called the transit scheduler back to confirm that our transit was still going ahead, and what time we needed to be ready. I was told it would be a 2-day transit, starting at 4pm, nested to one other boat.
Step 9: The transit day experience#
On the assigned transit day we headed to the staging area outside Shelter Bay and waited for our Canal Transit Advisor to board. About an hour before he arrived we went to Shelter Bay Marina to collect the line-handlers, fenders and lines.
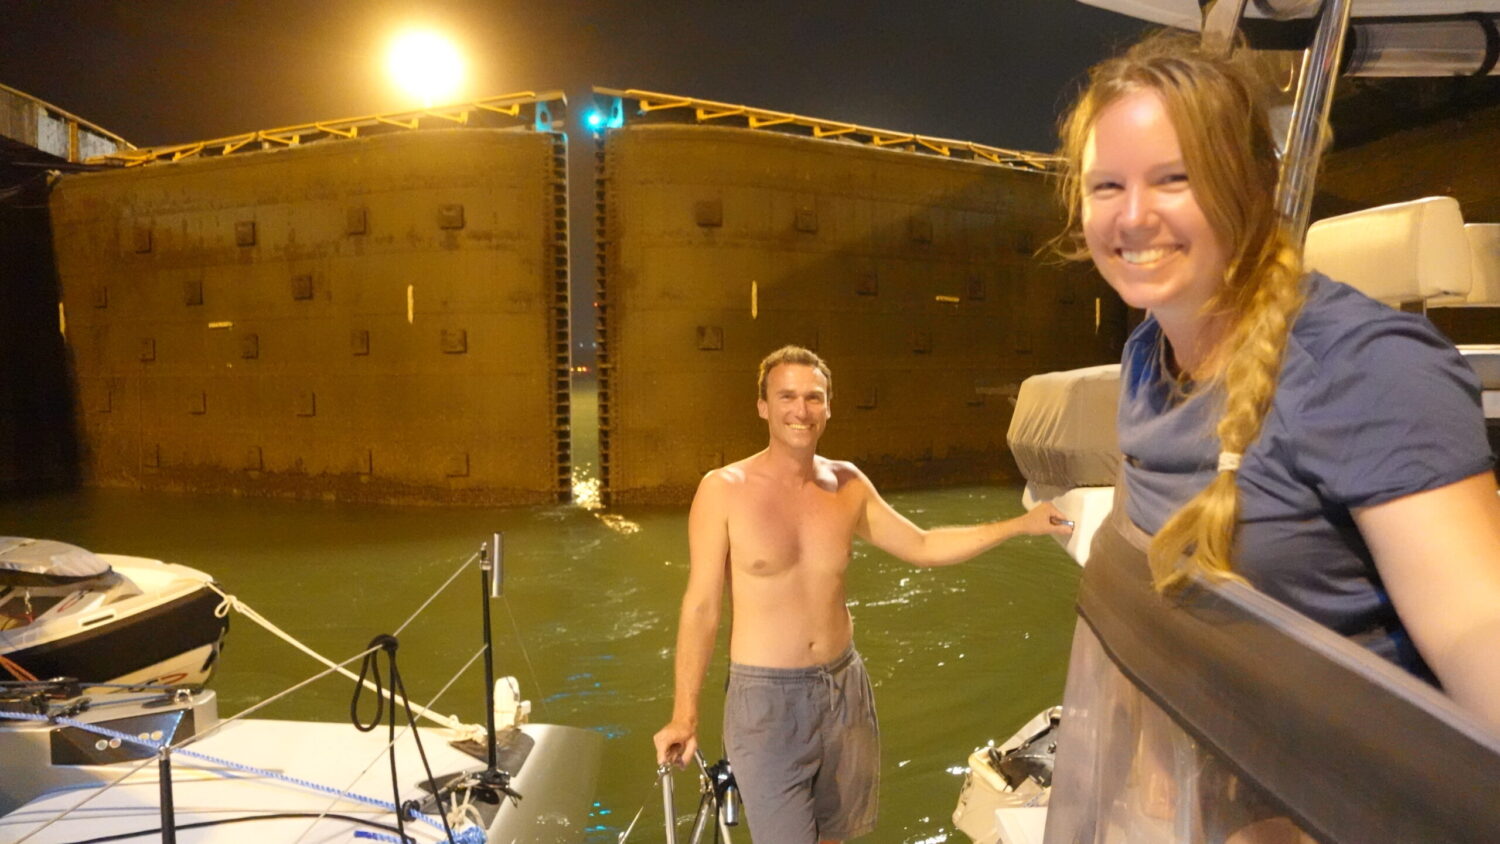
Once aboard, the advisor began to guide us through the locks chambers. You can read all about that experience here.
Summing it up#
Transiting the Panama Canal without an agent requires careful organization, but thanks to the updated system it’s easily doable. I hope this DIY guide helps you prepare for one of the greatest milestones in your cruising journey; the feeling at the end of it is something quite incredible!
One of the creators behind Travel Sketch, Telicia lives full-time aboard SV Liger. She’s a freelance writer who’s worked with a range of international companies, and serves as social media coordinator and magazine editor for noforeignland. With the Med and Caribbean done, she’s charting a course through the Pacific and Asia.



Leave a Reply