
Visiting French Polynesia has always been one of the core goals of boat life for us. But, as Australians, we only get 90 days if we rely on the visa on arrival. Is that enough time to explore one of the world’s most spectacular cruising grounds?
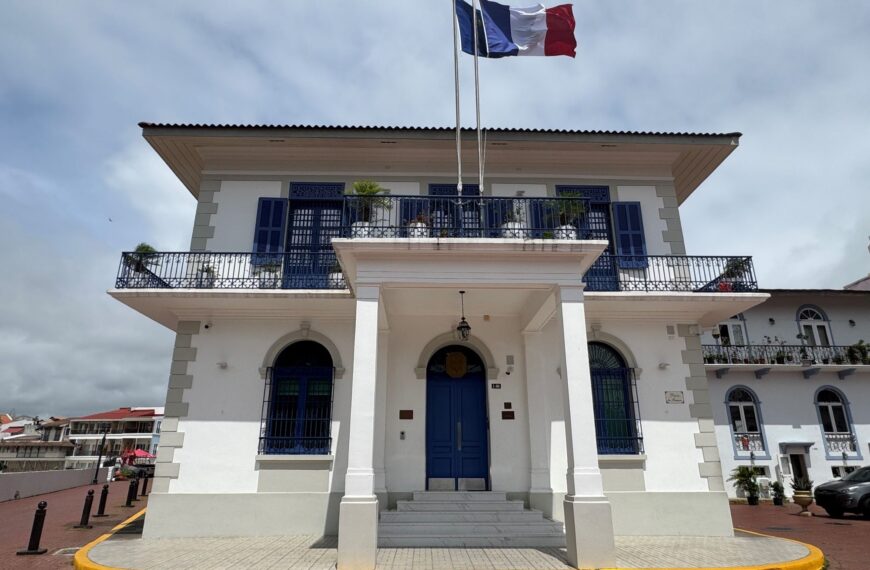
To be able to fully experience the islands we decided to apply for French long-stay visas, allowing us to stay for at least a year. We went through the entire application process at the French Embassy in Panama City, and here is a breakdown of exactly how we did it.
How early to start the process#
Cruisers should start the visa application process as soon as possible after arriving in Panama. It can take a couple of weeks just to secure an appointment at the French Embassy, and once you submit your paperwork, the processing times are longer than you might expect. While the minimum time cited is four weeks, in 2026 most crews reported a six-week wait. Our visas took six and a half weeks to process, even though we applied in May after the peak crossing season had already wrapped up.
Step 1. Complete the application form#
The first step is to fill out the visa application online using the official French government portal. To do this, you will need to create a login profile then complete the visa application form. During the application, you will be asked to provide your passport details, contact information, and personal details like your marriage status.
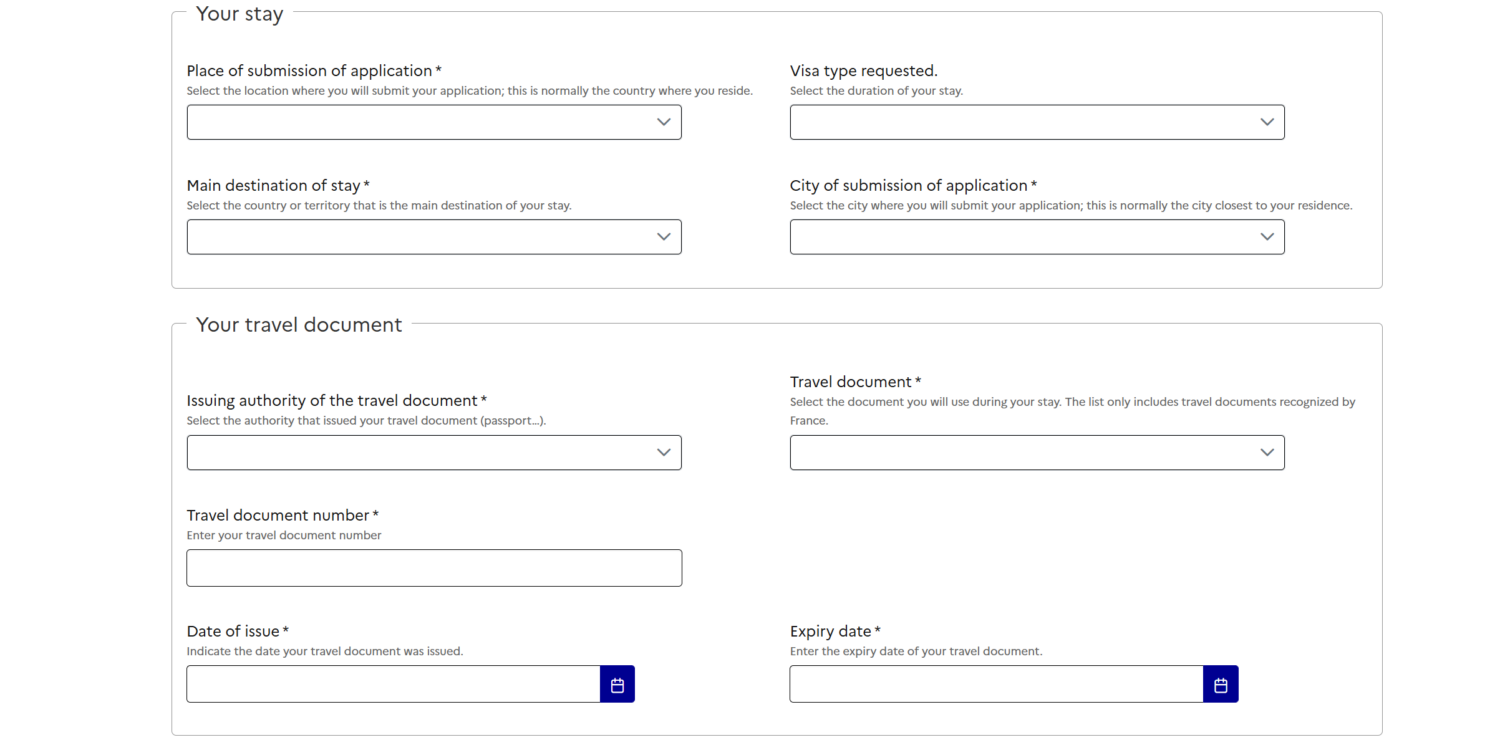
When the form asks for your current occupation, we input “No profession”, after reading advice from Holly and Ray on SV Sabado. This meant we did not have to provide any further employment or pension documentation, which made things much simpler.
For our address, we also used the recommendation from SV Sabado:
SV LIGER
PAPEETE MARINA (RESERVATIONS NOT ACCEPTED)
98714, PAPEETE, FRANCE
For the intended date of entry, I put the date we expected the boat to arrive in French Polynesia. When our visas were eventually approved, they were made valid starting from that specific date. As such, it’s worth putting something at least 8 weeks after the appointment, keeping in mind the minimum 4 weeks visa processing and 4 weeks sailing.
After submitting the application you’ll get an option to download a copy. You can do this now or later, but you will need to submit a print-out to the embassy during your appointment there.
Step 2. Book an appointment#
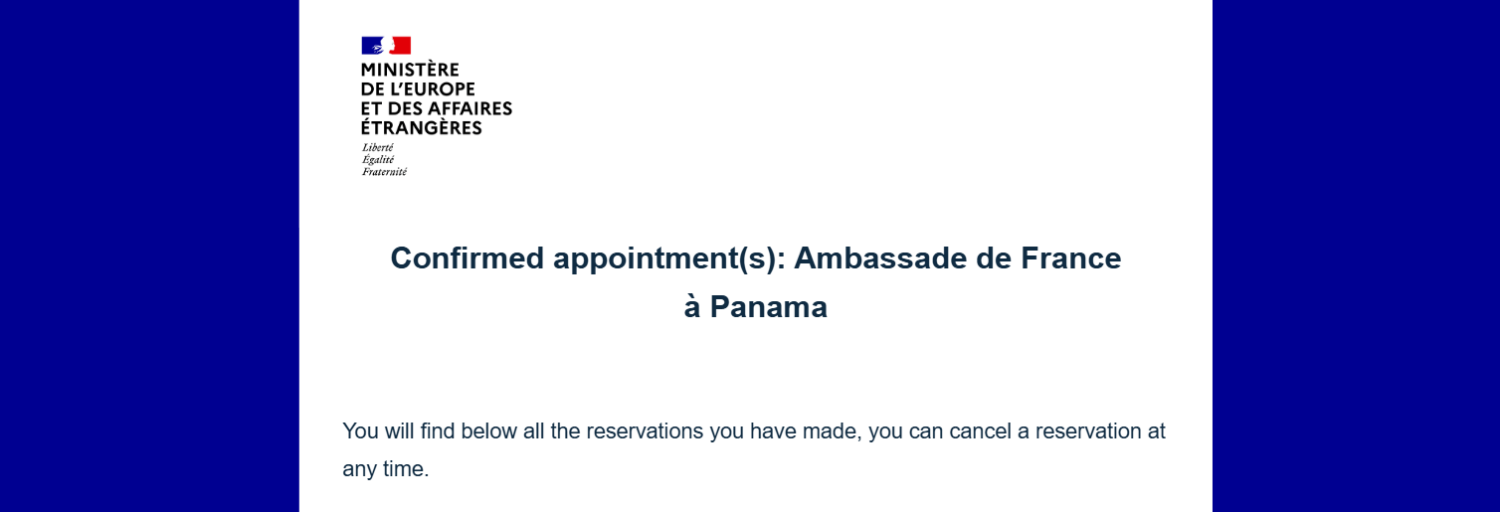
Once the application is complete, you’ll be prompted to book your embassy appointment. During the busy crossing months of February, March, and April, wait times for appointments were reported to be a few weeks.
Since we applied in May, the soonest available slot was only two days away. We chose an appointment five days out to give ourselves enough time to get our paperwork organized. Each appointment slot can accommodate up to two people, and when we went through, they were only available on Tuesday’s and Thursday’s.
Step 3. Compile the paperwork#
For your interview, you must bring a complete stack of supporting documents to submit with your application. All documents must be written in English or French. We submitted our papers in English, unstapled, and organized inside a clean plastic sleeve.
Here is a list of everything we included:
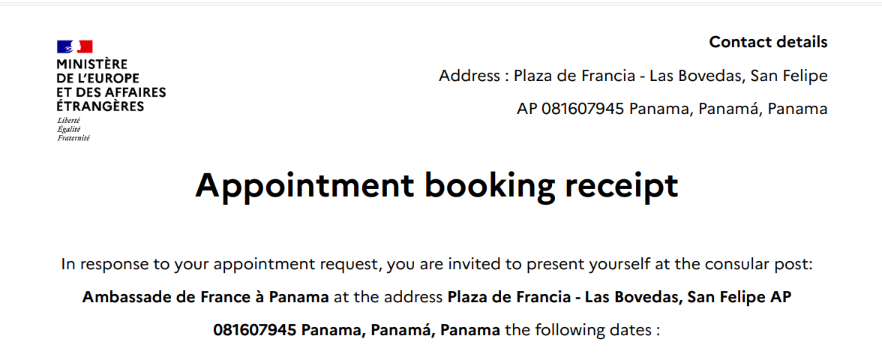
1. Appointment booking receipt#
This is the appointment booking receipt which I was sent via email after booking my appointment. I kept it at the front of the stack for easy reference as it had all of the appointment details on it.
2. Cover letter#
Based on advice from other cruisers we included a cover letter for each person. The letter included a list of the enclosed documents, and a short statement about the person’s history on the vessel and purpose of their visit.
3. Application form and Registration receipt#
A printed copy of the application form and France-Visas registration receipt. The France-Visas registration receipt is in the same PDF as the application form, and if you forgot to save it, you can log back into the portal to download and print it.
Once you print this, don’t forget to sign the last page of the application form.
4. Photocopy of passport identity page and stamps#
You need your original passport and one set of photocopies, which happily do not need to be certified. These are the official requirements for both as listed in the application information we received:
A travel document, issued less than 10 years ago, containing at least two blank pages, with a period of validity at least 3 months longer than the date on which you intend to leave the Schengen Area or, in the case of a long stay, at least three months longer than the expiry date of the visa requested. Be sure to transmit (scan) the identity page of your travel document as well as ALL PAGES containing visas, entry and exit stamps or any other inscription.
We included color photocopies of our bio-metric page and every single page containing a stamp or visa.
5. Passport ID photograph: #
We brought two recent passport photos taken within the last six months to ICAO standards. The embassy only kept one, but it is good to have a spare.
- Size: 35 mm wide by 45 mm high
- Face: 32 mm to 36 mm from the bottom of the chin to the top of the forehead (excluding hair)
- Coverage: The face must take up 70% to 80% of the total vertical frame
- Background: Plain and neutral (Grey or light blue, not white)
You can check the full photo guidelines on the French government website.
6. Purpose of visit letter#
As part of the process, you must promise not to work in French Polynesia.
Promise not to exercise any professional activity in France, if applicable accompanied by a letter explaining your project.
Proof of socio-professional status (e.g. employment contract, certificate of employment, extract from the trade and companies’ register, school attendance certificate, proof of pension).
To meet this requirement we wrote another letter, promising not to work. Because we listed our occupation as “no profession,” we did not need to show proof of employment status.
7. Proof of funds#
The only information we were given about this requirement was:
Proof of funds to meet needs in France. Bank statements of the last 3 months, pay slips, pension statements.
Essentially, you must prove you have enough money to support yourself during your stay. While we were never given an official number, online searches revealed it was tied to the monthly minimum wage in France, which was around 1,430 EUR.
As we were basing our proof of funds on savings, rather than income, we needed to show a balance of at least 12 times the monthly French minimum wage, to match the visa length. We rounded this up to 1,500 EUR, meaning we ensured each of our bank accounts showed a balance of at least 18,000 EUR (equivalent) for at least three months leading up to the appointment.
For those who do not have income or savings that meet the proof of funds requirements, you can opt to have a financial sponsor. The name of the sponsor needs to be included on the application form, and their bank records need to be submitted with the documentation proving they have the funds. It’s also best to include a sponsorship letter supporting the application.
8. Accommodation letter#
Cruisers must explain where they plan to live:
Proof of accommodation in France: property title deed, tenancy agreement or any other supporting document. Or proof that accommodation will be provided by a person residing in France, or if not, a document explaining the accommodation arrangements planned for France.
We wrote three letters depending on whose stack of paperwork it was:
- A letter from the applicant and a letter from the vessel owner offering accommodation
- A letter from the owner confirming it was their boat and they planned to live on it.
We also included our official boat registration papers to prove ownership.
9. Travel health insurance#
The health insurance information was fairly vague:
Health insurance for the full duration of the stay. The insurance must cover the visa’s entire validity period (1 year at the most)
Aside from the validity, there’s also coverage limits and deductibles to consider. For this class of EU visa there’s a requirement for minimum coverage of 35,000 EUR, which is fairly easy to find. What can be trickier is zero deductible. While it can sometimes depend on the person, in general, the policy needs to have no deductible. I have actually held a D-Class long-stay visa before for a different EU country, and my application was delayed slightly because my health insurance policy at the time had a small deductible.
We used IMG Patriot International Lite with zero deductible, and it was accepted. We had used Genki Explorer (now Genki Traveller) as our emergency health insurance for years, but couldn’t use it here because of its 50 EUR deductible, which is a pity because it’s one of the few affordable policies that cover offshore sailing. Genki’s other offering, Genki Native, is akin to global medical insurance and does have zero-deductible – you can read more about what they offer in this blog.
Step 4. Withdraw cash#
You must pay your visa application fee in cash during your embassy appointment. The official fee is 99 EUR, but the embassy in Panama City will not accept euros. Instead, you must pay the equivalent amount in Balboas, which is essentially US dollars.
Make sure you bring the cash in USD with a buffer to cover any exchange rate fluctuations or price adjustments. Cash withdrawals are notoriously expensive in Panama, and ATMs are usually limited to 200 USD per transaction. If you are cruising through the US or St. Martin earlier in the season, it’s worth visiting the ATMs there to stock up on cash.
Step 5. Attend the appointment#
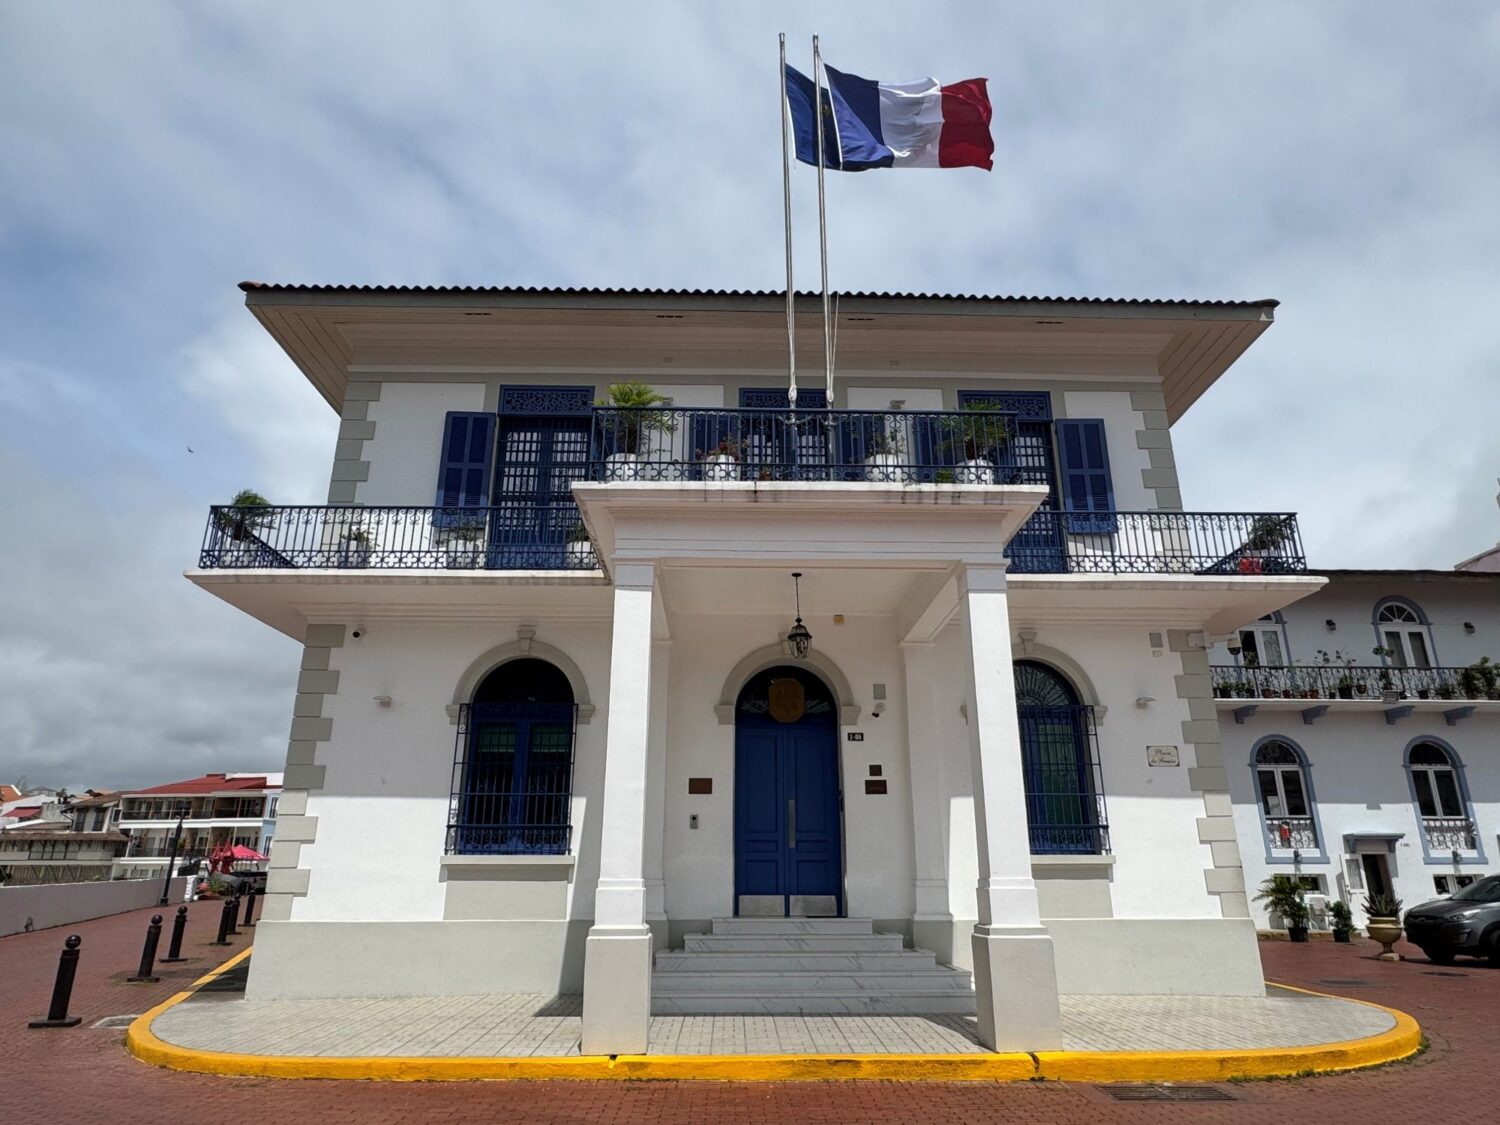
We applied for our visas as soon as possible after arriving in Panama. Since we were still anchored on the Caribbean side of the canal, we hired a rental car to drive across to Panama City where the French Embassy is located. We parked in a five-dollar secure lot just down the street, which was a great decision because parking in Casco Viejo Old Town is incredibly chaotic.
When you arrive for your appointment, you will need to show your passports to the guard at the entrance. The embassy support staff and security guards are mostly Panamanian, and many do not speak English. Once the guard verified our names against the appointment list, we were buzzed in through a very heavy security door. We went through a metal detector and had to leave our bags and phones inside a locker before entering the waiting room.
After waiting for about half an hour, a French official came out to collect our paperwork and took it back to her office. Twenty minutes later, she invited us in one at a time to scan our fingerprints and return our spare passport photos. She asked why we were going to French Polynesia and had me sign a form to keep my passport during processing, so I could use it as my primary ID. This is the same passport retention form that SV Sabado had emailed to them in advance. Finally, we went to the cashier counter to pay our fees and received a receipt, which you must keep to collect your passport later.
Step 6. Collect the visa#
Fast forward just over 6 weeks; I got the email letting me know we’d been approved and I needed to bring the passports to the embassy. To say I was relieved was an understatement! I dropped the passports in on Friday afternoon, expecting to be able to collect them on Monday, Tuesday at the latest. Late Tuesday afternoon they were ready. I was able to collect for the whole crew, and they did ask for the receipt that was given to me when I paid.
What next#
From here, we will travel to French Polynesia with our long-stay visas in hand. Once we arrive, we have the option to apply for an extension to stay for a second year. As soon as we reach that stage of our journey, I will be sure to share the details!
One of the creators behind Travel Sketch, Telicia lives full-time aboard SV Liger. She’s a freelance writer who’s worked with a range of international companies, and serves as social media coordinator and magazine editor for noforeignland. With the Med and Caribbean done, she’s charting a course through the Pacific and Asia.


Leave a Reply